Bloodstained: Ritual of the Night – Miriam’s Journey Walkthrough

Miriam’s Journey (Walkthrough 1/2)
The main story of the game on a straight path to the ending, with the occasional note of importance. This can be useful if you find yourself stuck or if you speed-run the game. Lore is intentionally left out, so you can discover it on your own leisure.
WARNING: This part of the guide contains spoilers for the entire game. Although dialogue events and names are avoided as much as possible.
Pro Tip: Defeating a boss without taking damage results in you hearing a “congratulations” message, and obtaining a mastery medal. (bragging rights)
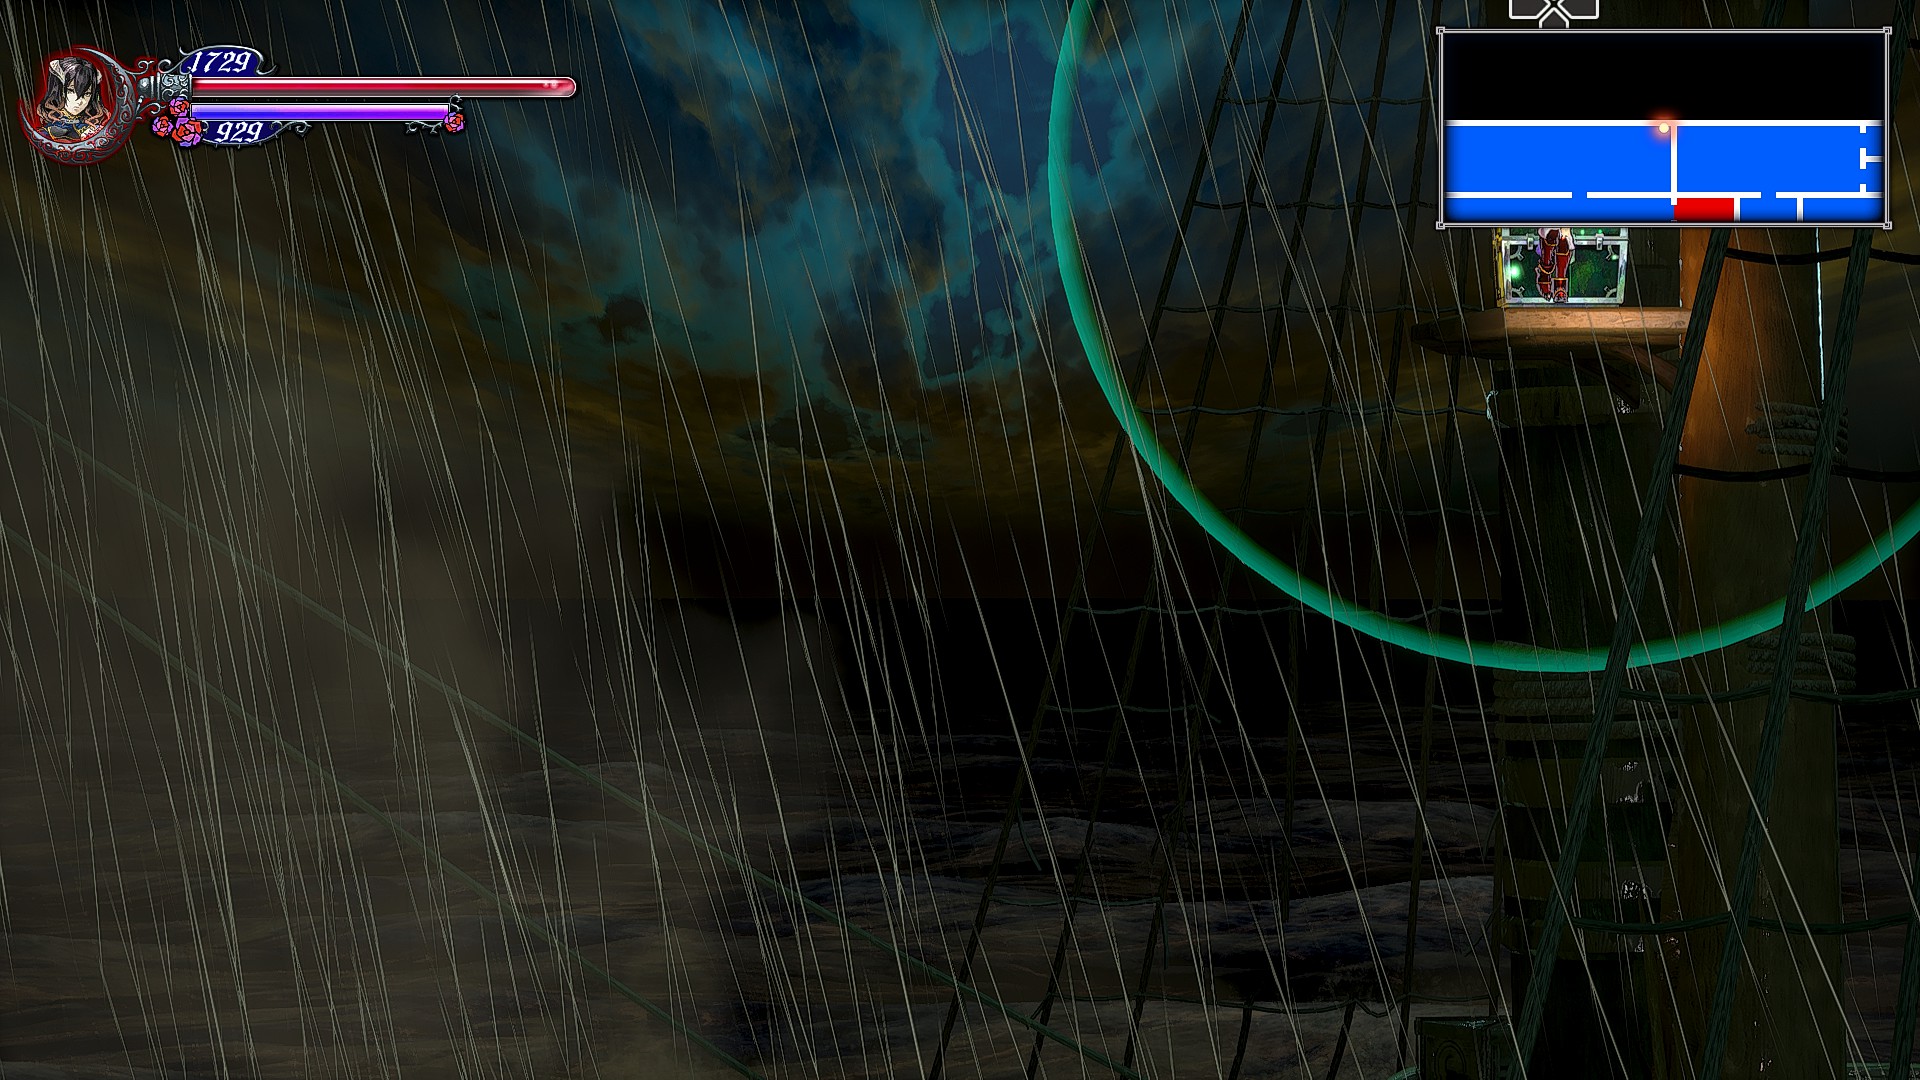
Galleon Minerva
The starting area of the game, this is a good place to test yourself against simple enemies. Gather your starting weapons and venture forth. Remember to save often in the red Save Rooms.
Pro Tip: You dodge backwards with Q. Make sure to master this as it will be essential to conserve your health during boss battles & exploration.
Pro Tip: It’s recommended to at least try to get each unique enemy’s shard once. While recommendations will be made in this guide, discovering an ability that will suit your play style is always a joy. Plus you will make sure your LV is up to par with further challenges. You can check your Archives for any potential Shard/item an enemy might drop indicated by ??? in its description.
Optional: Rare material is dropped by enemies. By going out of your way to finding each enemy’s possible drops at least once, you can then be sure where to find each material by checking your Archives.
Pro tip: In this area, you can find your first firearm. Firearms have limited specialized ammo but unlimited weak ammo and attack from long range. Their damage is subpar using this weak ammo but can synergize well with long-range ability Shards.
Optional: You may notice certain walls crack upon taking damage. Hit them 3 times to break them. They are Secret Walls and contain rare items, permanent upgrades to Miriam, or entire new rooms. A Shard you obtain later will allow you to see such walls, so don’t go too carried away attacking every wall.
You will eventually encounter a Cannon Morte enemy. Kill him to gain his shard, then use it to light the cannon up so you can proceed further.
The goal is to defeat the boss at the far right of the ship.
Arvantville
Your HQ for the game. Upon securing the village, talk to Dominique to obtain a key and proceed onwards.
Pro Tip: Don’t forget to obtain & complete quests from the people here as well as cultivate crops from the seeds you picked earlier by talking to the farmer outside. These will be necessary for food recopies later.
Pro Tip: Don’t forget to stock up on Waystones. These allow you to return to the village at any point. Along with the green Teleport Room on the top just outside the village’s right exit, it will make returning back a breeze.
Pro Tip: You will encounter a house with a barred door. Drop inside from above and break the wooden flooring. In the basement go left and smash the wall. Inside the secret room, you will find a chest with an 8-bit Coin which can be crafted into a bonus weapon with alchemy.
Recommendations:
God Cross: Holy damage effective against most demons and a chance to petrify them to boot.
Blood Grinder: Rare dark damage and a curse effect to cut down enemy HP when successful.
Renee’s Requiem: Straightforward the best firearm in the entire game when upgraded to the final tier.
Entrance -> Garden of Silence -> Entrance
You will need to cross the Garden of Silence and back at the Entrance on the higher floor. There you will need to fight Zangetsu. Prepare for a tough battle.
Dian Cecht Cathedral
The goal here is to fight Craftwork and obtain his Craftwork Shard. (moves objects with a huge hand)
Pro Tip: Here you will encounter Killer Barbers. They drop the amazing Rhava Bural sword. This sword attacks as fast as you can press the button and does not interrupt your animations, meaning you can use it as you move around. It can even be upgraded later on.
Pro Tip: By now you should encounter Poltergeists. They drop Alkahest used in alchemy and their Shard, Welcome Company surrounds Miriam with portraits that attack enemies who get close. Not only this ability can boost your damage while engaged in melee, but any enemy who touches Miriam must also survive the damage in order to interrupt her, making this extremely useful on flying heads, bats, and more.
Garden of Silence
Use the Craftwork Shard to move the pillar out of the way and then ride the friendly coach to the other side.
Bridge of Evil
Discover the train station and leave.
Towers of Twin Dragons
Cross the Tower into Livre Ex Machina
Livre Ex Machina
Boss battle vs Andrealphus giving you the shard Double Jump Shard. New areas are now accessible.
Pro Tip: You can now return to the Galleon Minerva and explore a previously inaccessible area with a chest. On the right of the chest lies a breakable wall that rewards the Plunderer’s Ring, an accessory that increases monster item drop rates.
Towers of Twin Dragons
Pro Tip: While scaling the tower you will notice revolving gears. Jump on them and move towards the left, where a difficult jumping section (easy later on with better shards) rewards you with the Flying Sword, arguably the best utility weapon in the entire game.
The sword attacks without interrupting your animation, meaning it can attack while you move or even while you use shards, has a decent range, and damages enemies numerous times during its initial and return arcs. It can later be upgraded and benefits from sword Shards and techniques.
Pro Tip: You will notice a Celaeno type of enemy. This enemy drops the useful Teps Oceus directional Shard which auto tracks any enemy on the screen. Simply tapping the directional attack button will launch lightning that will always hit enemies.
Pro Tip: You can’t miss the annoying Dullahammer Head enemy. They drop the Familiar: Dullahammer Head Shard. While other familiars are useful, gathering 9 Shards will result in 5 total heads protecting Miriam and auto-seeking enemies even through walls.
Time to defeat Valac, at the bottom of the battle room lies a chest with the important Silver Bromide key item.
Arvantville
Give the Silver Bromide to Dominique and have her take a photograph of Miriam in the far left studio.
Livre Ex Machina
Bring the photograph to O.D. in his library to obtain a Passplate.
Bridge of Evil
The only time-limited sequence in the game culminating in a Glutton Train boss battle.
Underground Sorcery Lab
Explore and battle Bathin to obtain his Reflector Ray Shard. New areas are now accessible.
Pro Tip: Unique food materials can be found in chests here.
Livre Ex Machina
Use the Reflector Ray to cross through the mirror path and battle Abyssal Guardian. Continue onwards.
Optional: Hall of Termination is now available and there lies Gebel. However defeating him now results in a bad ending, make sure you saved beforehand.
Dian Checht Cathedral
Use Reflector Ray shard to travel to previously inaccessible areas and explore further. Eventually, encounter Bloodless and defeat her gaining her Blood Steal shard.
Miriam’s Journey (Walkthrough 2/2)
Entrance
Use Blood Steal to drain the blood fountain allowing you to drop below.
Forbidden Underground Waterway
Hunt Deesamas until you possess Aqua Stream shard (necessary to proceed) ignore the underwater chests as you can’t open them yet.
Pro Tip: You will eventually encounter the Glashtyn horse-like enemy. They drop the Amphibian Speed passive Shard which is invaluable for underwater exploration. If you rank it up to 9, it will become a skill Shard and you don’t even need it equipped anymore.
Pro Tip: In this area, you will encounter an eye-like enemy called Seeker. They drop the super useful Detective’s Eye passive Shard that not only detects secret walls but also picks up loot in higher ranks.
Pro Tip: In this area, there is a breakable wall that rewards the Plunderer’s Ring, an accessory that increases monster item drop rates.
Hidden Desert
Proceed onward and defeat Alfred then at the room below obtain the Deep Sinker shard. New areas are now accessible.
Forbidden Underground Waterway
Use your Reflector Ray underwater and proceed to the previous inaccessible areas.
Secret Sorcery Lab
Explore and fight Doppelganger. Proceed Onwards.
Inferno Cave
Explore and beat Orobas to gain the Invert Shard. While this opens new areas of exploration, my tip is to hold up exploring them as an easier method will soon be available for vertical exploration.
Pro Tip: unique food materials can be found in chests here.
Pro Tip: You will be attacked by a Hellhound here. This enemy drops his Summon Hellhound Shard which deals insane amounts of damage at great MP expense. Useful for dumping a lot of damage fast if you don’t rely on your MP during battles.
(The following part can be skipped with great risk to your health, stock up on food and potions if you wish to power through without it)
Tower of the Twin Dragons
use Invert and obtain the Aegis Plate Armor at the inverted top of the tower. (negates all spike/lava damage, making exploration of trap/lava ridden areas easy)
Entrance
Use an invert in the entrance to find a hallway of spikes and iron maiden at the top. simply move the maiden using Craftwork and proceed, or power through by eating and healing if you don’t have the Aegis Plate Armor.
Oriental Sorcery Lab
You will notice a Haagenti bull enemy here. This isn’t mandatory for progression but obtains at least 1 bovine feather to make a High Jump shard. This makes invert obsolete as now you can basically fly.
The goal here is to have an epic fight with Zangetsu and obtain his sword at the top.
Pro Tip: unique food materials can be found in chests here.
Hall of Termination
Time to fight Gebel properly. Engage and damage him until the moon turns red, then slash the moon with the Zangetsuto without killing Gebel.
Garden of Silence
Find the upper floor with the red moon in the background and slash it once more with the Zangetsuto and enter the portal.
Den of the Behemoths
Explore further and defeat the boss Valefar.
Pro Tip: Beneath the battle, table is a piece of Valkirie gear boasting the highest luck and decent stats for its slot.
Pro Tip: In this area lies a racing track and a blue ninja who challenges you to a race upon entry. It’s recommended to have Aegis Armor and Reflector Ray on the ready. Upon you winning he will give you the optional, but invaluable Accelerator Shard. This shard will become your number one method of transportation as it allows you to move at immense speed. You keep this shard for New Game+ making it even more valuable for further playthroughs.
Glacial Tomb
Chase after and defeat Gremory, the penultimate boss. This awards you with her Dimension Shift Shard which along with the High Jump, Amphibian Speed, Detective’s Eye, and the Accelerator (optional Shards) give you easy access to 100% of the game’s areas.
Either return back to the farm and explore or continue onwards to face the final boss of the game.
Post Game.
Towers of Twin Dragons
Using the dimension shift Shard you can clip below the area where the shield knight is. There another part of the Valkyrie set exists boasting the highest LCK of that slot.
Bridge of Evil
Enter the train and sit on the first chair and gaze outside. Continue looking until a weird Kunekune thing pops up and jump scares you. While you can challenge this enemy early, he is broken overpowered and can obliterate you almost instantly. Jump away and use long range Shards (like Teps Oceus) to take it down safely.
8bit Area
Directly above the save & teleport rooms in Hall of Termination lies a breakable ceiling and within that room another breakable wall. Within this final room lies interacting with the portrait will transport you to an optional easter egg 8bit Area containing a few unique enemies (and their shards) The boss drops the “16 bit Nightmare” item used in crafting the final form of all bonus weapons.
Keys & Mini Bosses
There are 4 secret keys and 3 optional mini-bosses scattered around the world. Each of the 4 rooms counts toward 100% map completion and each of the 3 mini bosses are tough and drop an item used in high tier weapon crafting.
Extra Boss
Upon finishing the game and exploring at least 99% of the game, the Tome of Conquest book will be available from O.D. Take it and go to the Glacial Tomb for an optional secret boss fight. This will result in an additional entry and shard which will push you to 100% if you completed everything thus far. As a bonus, you can now equip all books at once. (poor O.D.)
Pro Tip: Using Alchemic Bounty passive Shard and breaking down bonus weapons will allow you to get their coins back. However, since the Shard gives you a chance to craft many at once this becomes the most ideal way to farm bonus weapons efficiently.
Pro Tip: You can farm large quantities of gold from candles and enemies with the Pickpocket and Augment Gold Shards.
Pro Tip: the final Memory quest awards you with the Solomon’s Ring an accessory that increases Shard drop rate making it ideal for Shard farming.
Pro Tip: the final Craving quest awards you with the Recycle Hat a head armor that prevents firearm ammo from depleting allowing you to use unlimited rare bullets.


