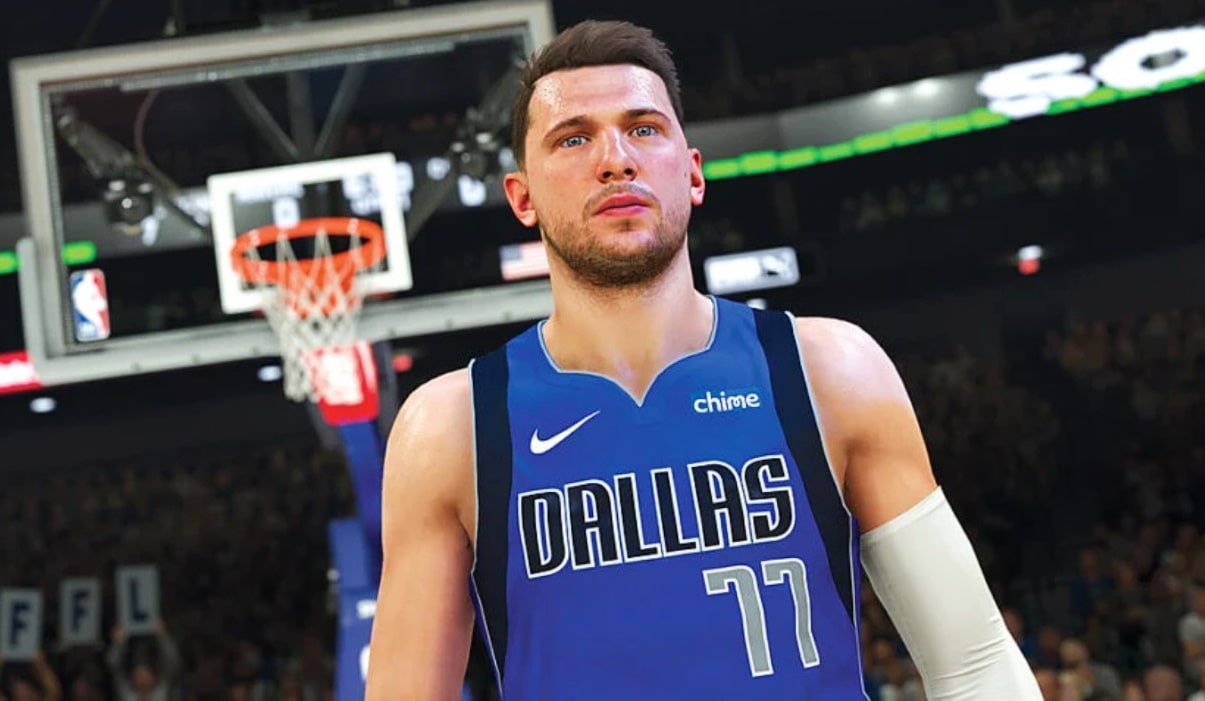
NBA 2K23: MyPLAYER Builder Tips for Beginners
2K’s yearly NBA series is the premier pro basketball simulation game on the market, and it continues to add and improve mechanics year after year. NBA 2K23 continues that trend with a host of new options and game modes, as well as a vastly improved MyPlayer mode.
MyPlayer allows you to create your own basketball superstar and guide them through their career from high school, to college, to the big leagues. The highly advanced, nuanced MyPlayer builder has several settings and options that might be confusing for new players, so if you want to get the most out of the MyPlayer mode in NBA 2K23, then use the following tips.
Pick a Build to Suit Your Playstyle
This should probably go without saying, but you should set up your first build to be in line with the particular skills you are proficient in, or how you like to play the standard arcade mode. There are so many skills and builds to choose from that you could easily end up building a character that doesn’t actually fit how you like to play the game.
This would be an unfortunate way to continue through the player’s career, so be sure not to waste your time. Spend a few hours in the quick play mode of NBA 2K23, keep track of how you like to play, and then go into the MyPlayer builder to put together a player that excels in all of the skills you enjoy.
Plan Out Point Allocation
In the process of building your character, you will be placing points in all of the skills that make up a great basketball player. More points should go to the skills that you selected in the first tip, but be mindful: you only have a limited amount of points.
For this reason, it is crucial that you plan ahead to make sure you have enough points for all of the skills you want. It would be easy to throw points here and there, but that could end up leaving you without certain aspects of a player that would round out their skills and make them forces to be reckoned with.
So make note of the points you have to start with along with the skills you want and how many you need to make them great and do some math! There is a resource called NBA Labs that will provide you with all of the information you need to make informed decisions about your player.
Go for a Test Ride
A feature that was added several games ago allows you to test out your current player build right from the builder tool. This is an invaluable method of making sure your player feels exactly how you want them to in a heated battle against another team. And, if something isn’t quite right, you aren’t locked into that build. You can go back and move some points around until everything is just right.
Especially if this is your first time using an NBA 2K player builder, you’ll want to be jumping back and forth between the test mode and build mode to see how things change as you add and deduct points from certain skills. It’ll add some time to the prep portion before you actually get to start digging into the game, but it is well worth the extra time and effort to get a player that works exactly how you want them to.
Double Check Your Skills Before You Spend VC
Previous NBA 2K games have also introduced the ability to purchase packs of VC, or Virtual Currency, that allow you to outright buy certain animations and level up your player without needing to grind your way to that point. Some consider it cheating of sorts, but if you don’t have the time to dedicate to the game and you want to get the most out of it as quickly as you can, there’s no shame in spending some extra money to get the features you want immediately.
But, before you go all in, it’ll save you some time and money to see if the player you have built can get certain animations and features through regular leveling. It would be terrible to spend the money to level up your player to level 99 only to find out he was never going to be able to get that animation you wanted at the beginning. Again, this information can be found in NBA Labs, so make sure to check that out before you pull out your wallet again.


